DL4500-EDH+/EDH-485 Hardware Quick Start with Device installer version 3.6
PDF Download
The DL4500-EDH+/EDH-485 (now referred to as DL4500) hardware platform was
designed to be a gateway, which interfaces your Ethernet TCP/IP to A-B’s Data
Highway Plus (DH+) or DH-485 network. It comes in a DC powered Din-Rail Mountable
compact cabinet for ease of portability and installation. The DL4500 combines the
Lantronix Ethernet Microprocessor with our proven A-B DH+ or DH-485 interface. This
allows for one to four sockets (connections) to be running simultaneously to one DH+ or
DH-485 network.
This quick start is to help you get started with your DL4500, for more in-depth configuration please refer to the DL4500 User Manual.
This quick start is to help you get started with your DL4500, for more in-depth configuration please refer to the DL4500 User Manual.
Install the Lantronix software (DeviceInstaller version 3.6 and Redirector)
1. Download Device Installer version 3.6 from the web
DeviceInstaller - (ftp://ftp.lantronix.com/pub/DeviceInstaller/)
Download Release notes for DeviceInstaller v3.6
(ftp://ftp.lantronix.com/pub/DeviceInstaller/v3.6/Release.txt)
Download Release notes for DeviceInstaller v3.6
(ftp://ftp.lantronix.com/pub/DeviceInstaller/v3.6/Release.txt)
2. Device Installer requires Microsofts .NET Framwork version 1.1
If you do not already have .NET Framework 1.1 installed, you can download it
from the link below: ftp://ftp.lantronix.com/pub/DeviceInstaller/dotnetfx.exe
from the link below: ftp://ftp.lantronix.com/pub/DeviceInstaller/dotnetfx.exe
3. Redirector - ftp://ftp.lantronix.com/pub/ inside the redirector folder
Note: A reboot of your PC will be required at this time.
Equustek Solutions, Inc.
Suite 815 – 1200 W 73rd Ave.
Vancouver, BC, Canada – V6P 6G5
Toll Free: 888-387-3787
Tel: (604) 266-8547 Fax (604) 266-9547
Web-site: www.equustek.com
Suite 815 – 1200 W 73rd Ave.
Vancouver, BC, Canada – V6P 6G5
Toll Free: 888-387-3787
Tel: (604) 266-8547 Fax (604) 266-9547
Web-site: www.equustek.com
Next is to set the IP address on the internal Lantronix Ethernet Microprocessor.
Assign IP Address and Network Class
Click the Start button on the Task Bar and select All Programs\Lantronix\
DeviceInstaller\DeviceInstaller. The Device Installer window displays.
DeviceInstaller\DeviceInstaller. The Device Installer window displays.
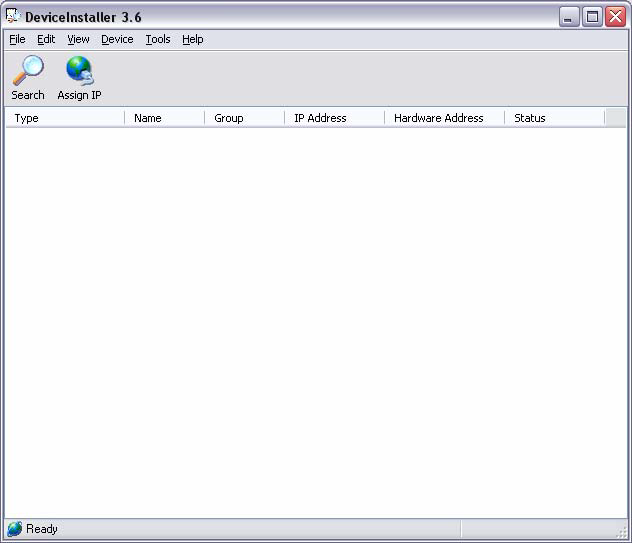 DeviceInstaller Window
1. Click the Assign IP  icon. The Assign IP Address window displays.
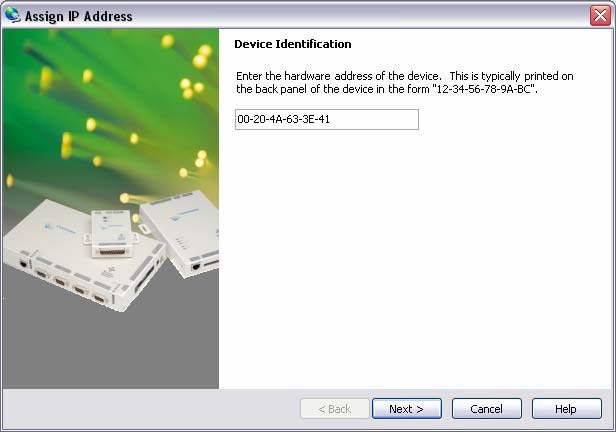 Assign IP Address Window
2. In the Device Identification field, enter the Ethernet Address (MAC address), which
is listed on the label on the bottom of the unit.
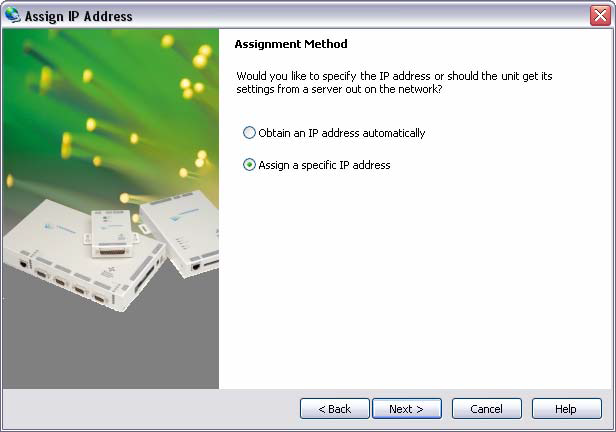
3. In the In the Assignment Method field
• Select Assign a specific IP address.
• Click next
• Click next
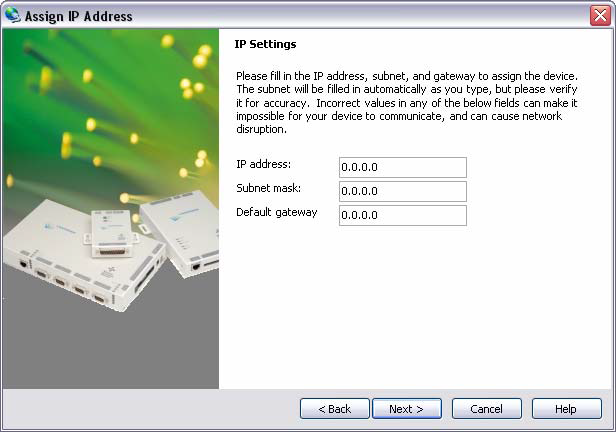
4. In the IP Settings field
• Insert your IP address, Subnet mask, Default gateway.
5. If you don’t know how to get your IP address, Subnet mask and Default gateway. Follow those steps to get them.
Click the Start button on the Task Bar and select run and typed cmd
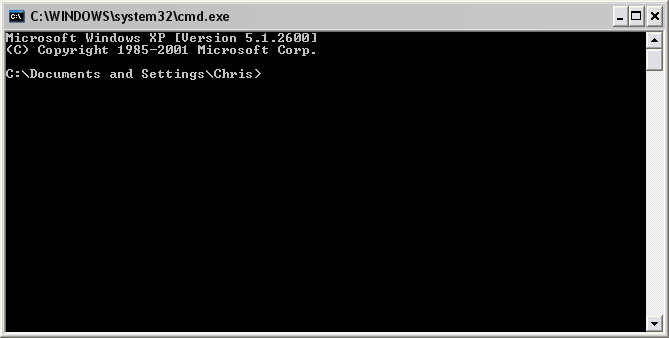
When the window displays, typed ipconfig to get your IP address, Subnet mask and Default gateway.
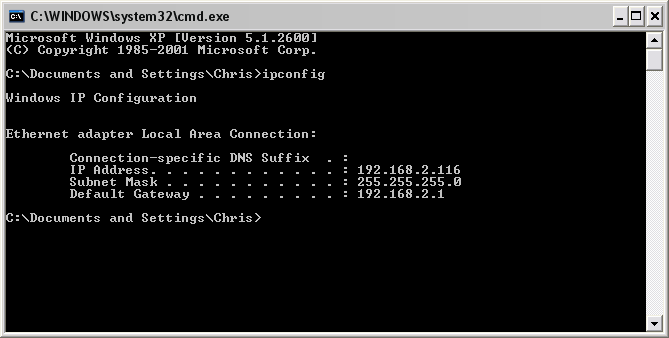
Now you have the whole information you needed.
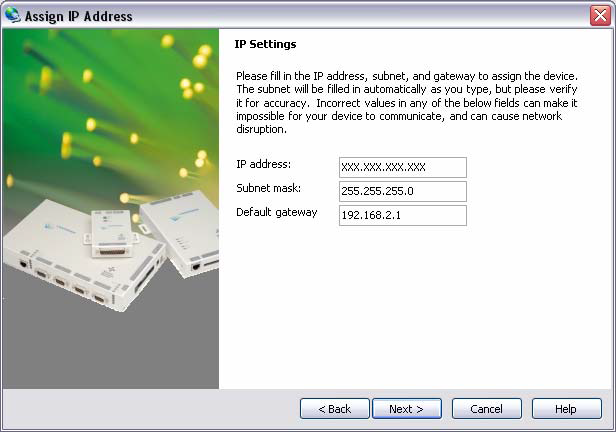
6. In the IP Settings field, fill in your IP address, Subnet mask, Default gateway and click next.
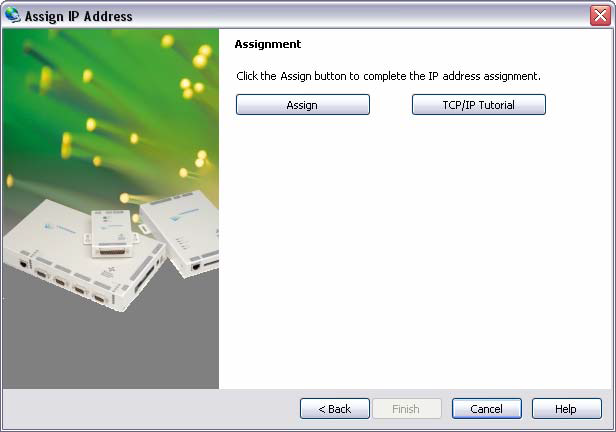
7. Click the Assign button to complete the IP address assignment
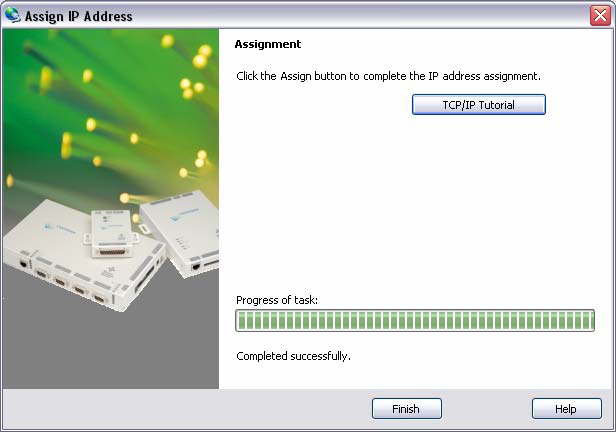
8. Click Finish
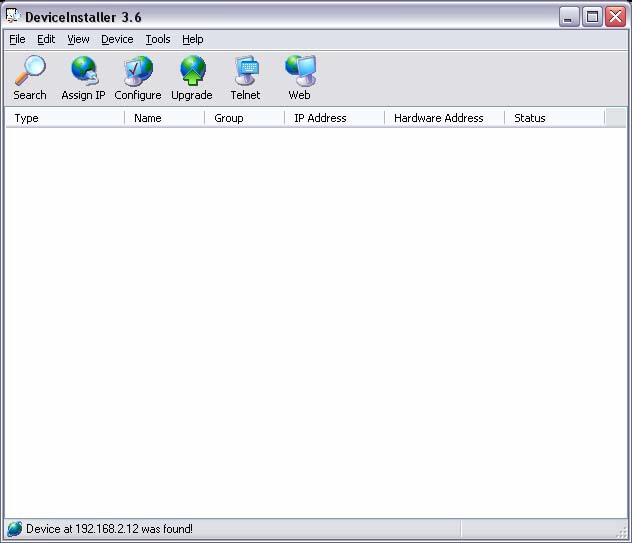
9. In the status bar, you should have: Device at XXX.XXX.XXX.XXX was found.

Redirect the IP address via a Virtual COM Port
The Redirector maps the IP address and Port number configured in the DL4500-
EDH+ to a virtual COM port. The virtual COM port can then be used to send the
Serial DF1 driver supplied by your software or MMI package (RSLINX,
Kepware, Citect, etc) to tunnel the DF1 protocol to the DL4500-EDH+ where it will be
interpreted and sent to the corresponding DH+ node.
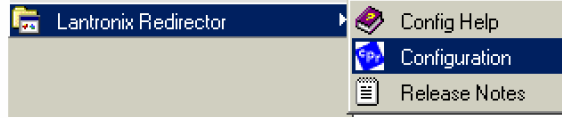
1. To access the redirector software click Start/Programs/Lantronix Redirector/Configuration
2. The next step is to select a COM port to redirect from. You will see a similar window as shown below. Select the “Com Setup” button inorder to configure a COM port.
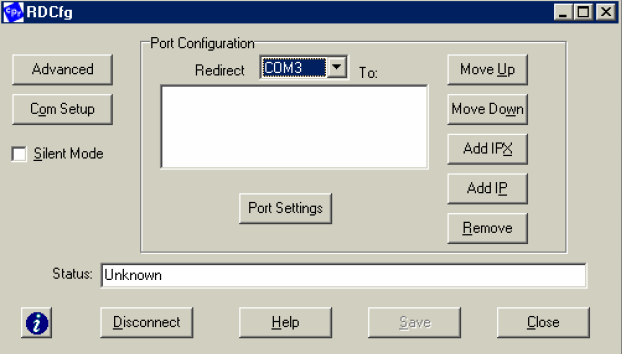 Redirector Window
3.
Start with COM5 or higher to avoid the old legacy ports of COM1 to COM4.
You should also check which COM ports your application supports; some only support
from COM1 to COM8. In this example I have selected COM5 to be redirected. COM1,
COM2, are greyed out - this indicates that they physically exist as hardware already.
This is another good reason to avoid using COM1 to COM4 for redirecting - it avoids
future conflicts if you add another serial port or two.
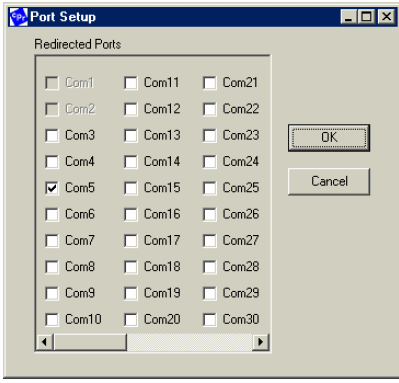
4. After you have selected the COM port you wish to use, press the OK button.
5. You will now need to assign the IP address and the Port ID to the COM port.
6. Press the Add IP button to configure the CoBox's details.
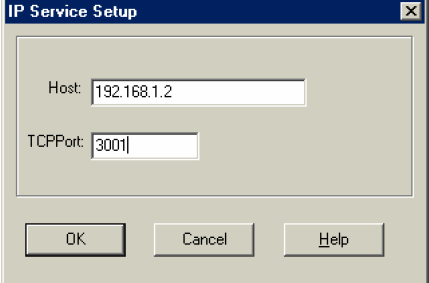
For example, COM5 is set to redirect to a CoBox with IP address 192.168.1.2 and a TCP Port of 3001. If you have more questions please press the Help button.
7. Click OK button
8. Click Save Button
9. Reboot system