PDF Download
DF1 to AB Ethernet Application note using Equustek EQDCM
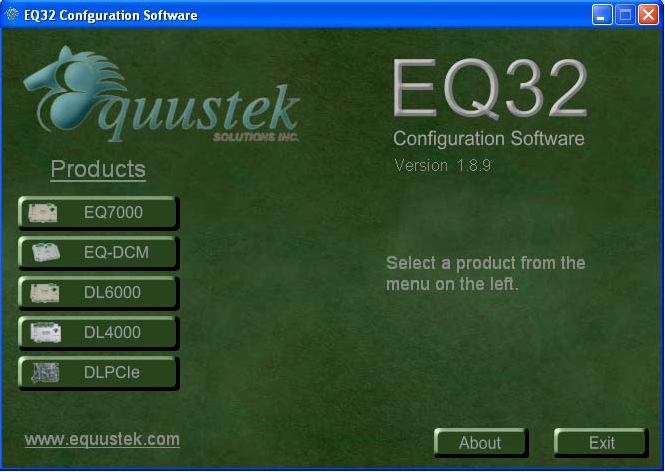
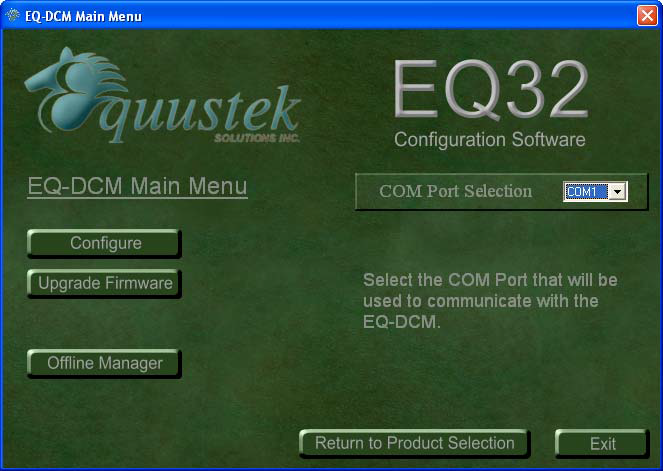
To configure the EQDCM start, the EQ32 configuration software and select EQ-DCM from the product menu.
Select AB Ethernet,ASCII,DF1 from the Models menu..

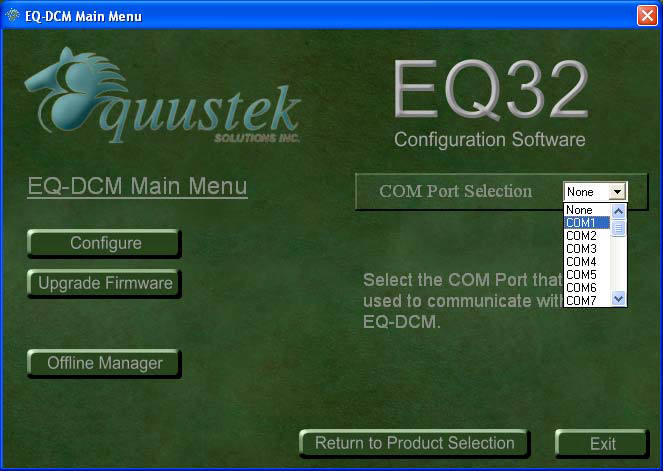
Select the serial port that connects your PC to the EQDCM, and click on Offline manager.
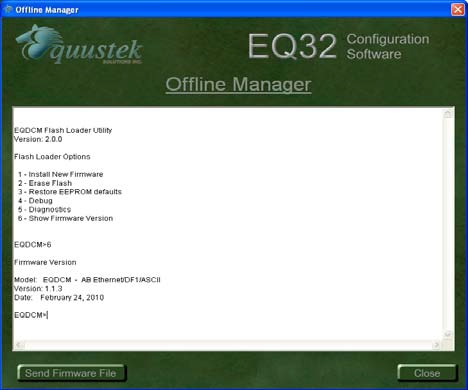
Press the configuration switch on the unit, you should see the menu shown below and after tying 6 you should see the firmware version, then click on close to return to main menu.
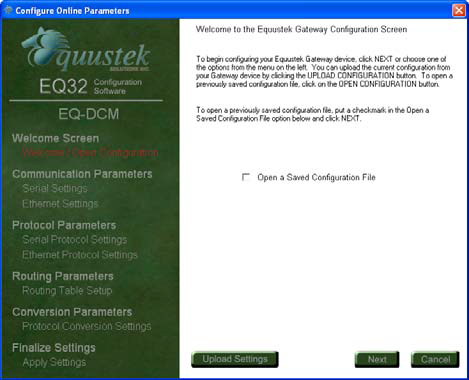
Click on Configure.
Click on next.
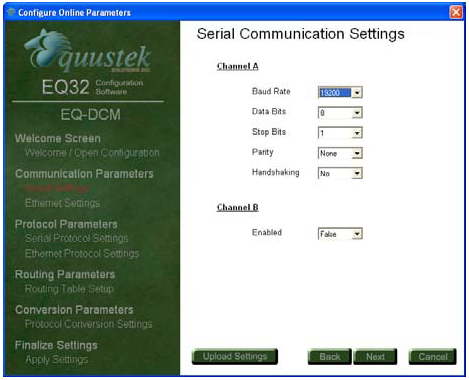
Set the serial settings for the DF1 and click next
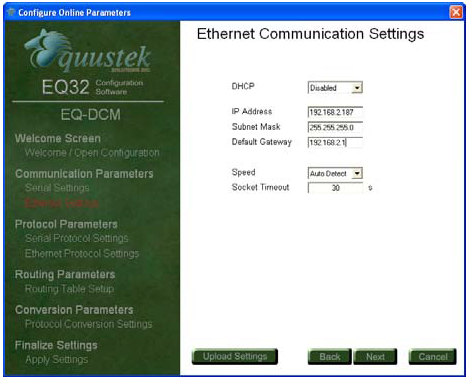
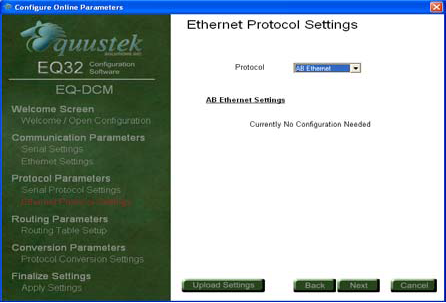
Set the Ethernet settings and click next
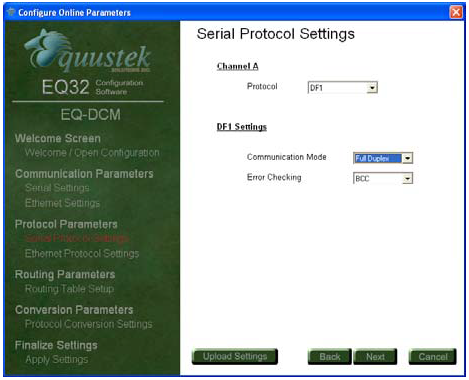
Set Channel A settings and click Next.
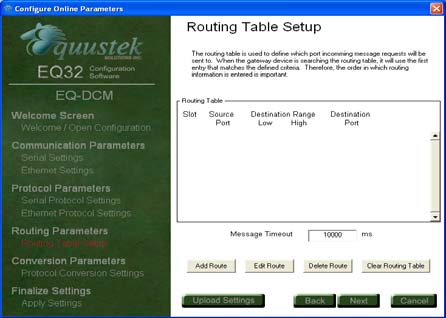
Click next
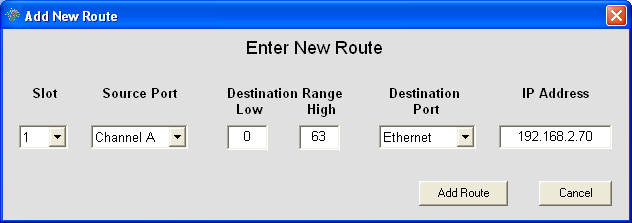
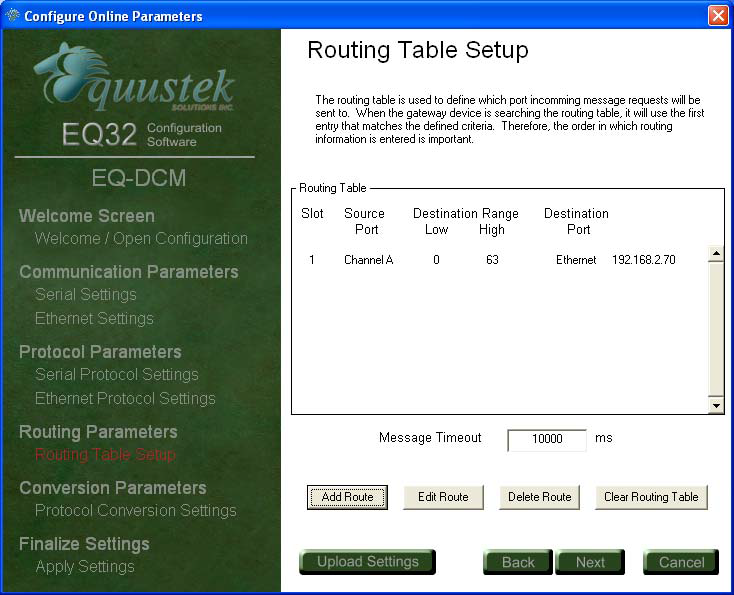
Click on add route to set the route
Enter the routing details.
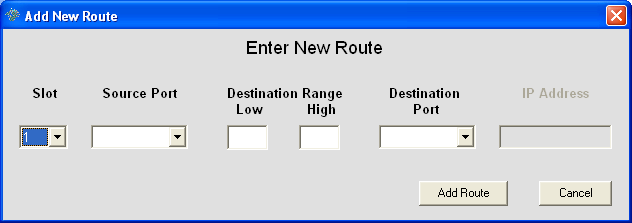
In our example here our PLC5 Ethernet address is 192.168.2.70 click on add route to finish.
After entering all your routes click on Next.
It will as k to put the unit in configuration mode by pressing the Configure button on the right hand side of the EQDCM then click on OK

Click on Ok after you see the success downloaded message..
Click on Exit to close the EQ32 configuration software and press the RESET push button the left hand side of the EQDCM to put the unit in online mode.

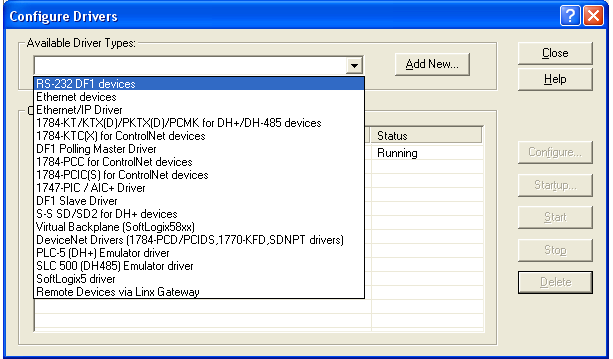
Start RSLINX and click on Configure drivers
Under available driver select RS232DF1 drivers.
Name it, any name you like and click OK.

Select serial port that connects the EQDCM to the PC running the RSLINX then click on Auto-Configure
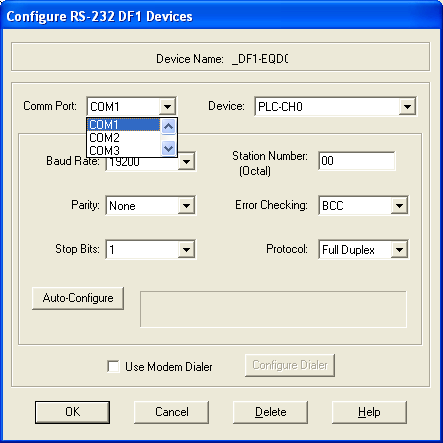
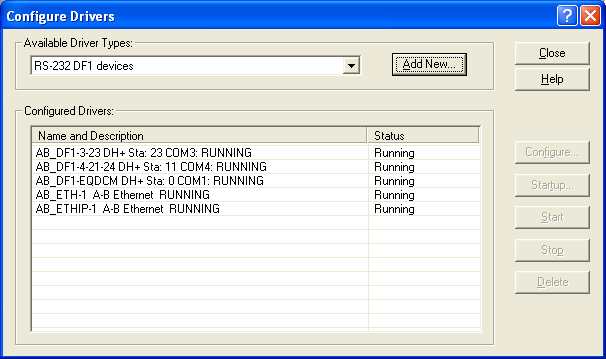
You should see Auto Configuration Successful.

Close the configure driver window.
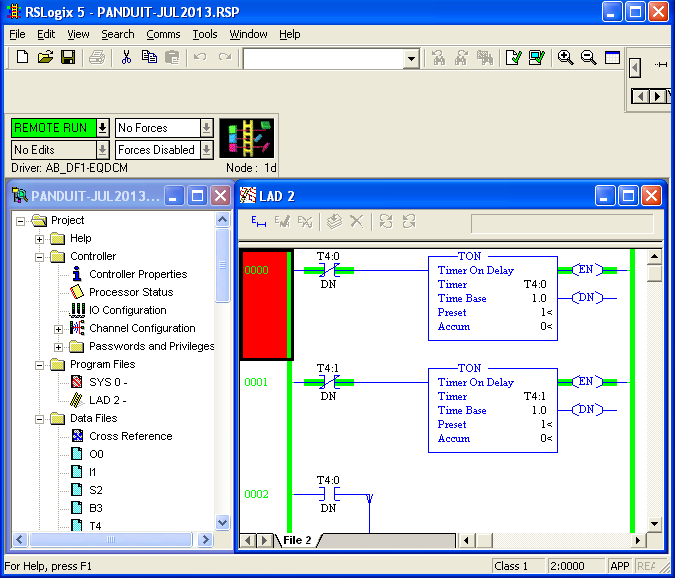
Start RSLOGIX5 and click on Communications
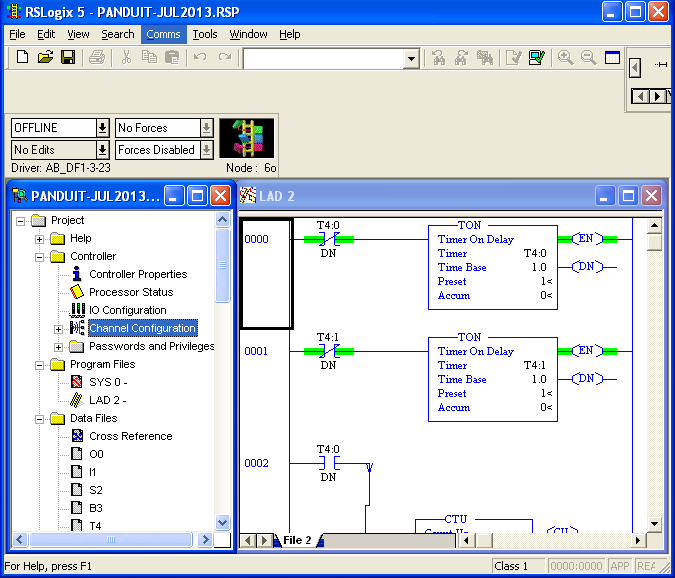
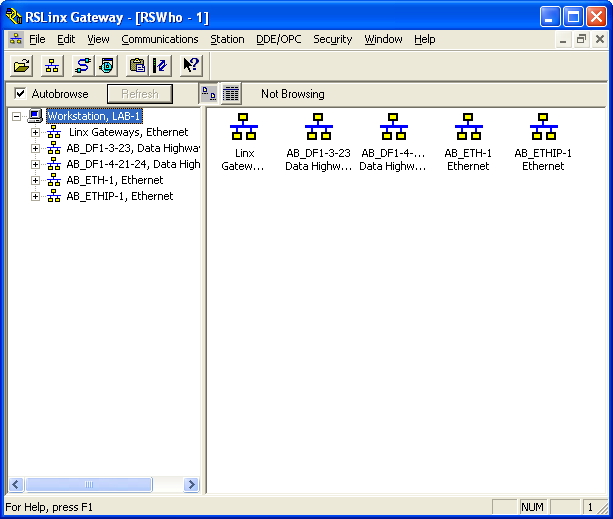
Highlight the driver you created in RSLINX you should see the PLCs on the right hand side
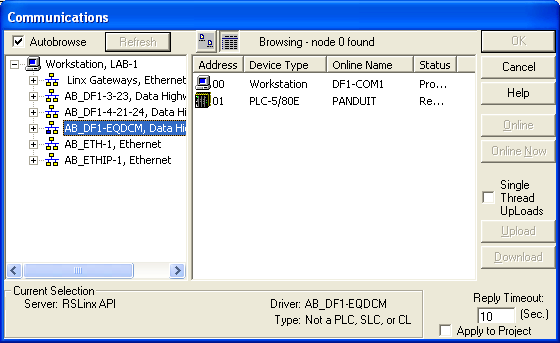
Click on the PLC that you want to go online with then click on Online
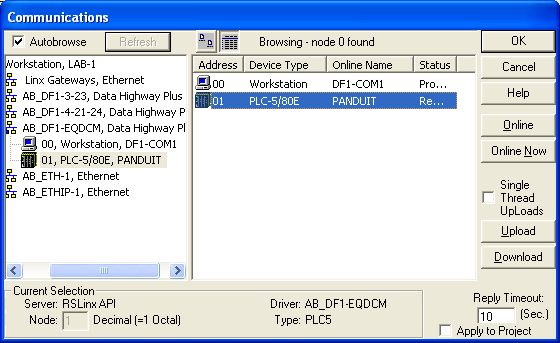
That will put the RSLOGIX online with your PLC through the EQDCM.